


Adding animations in C# is a quite complicated task but in this article, I’ll show you a very simple method to add animations to your desktop application in C#.
For this specific tutorial, we’ll use Bunifu Animator control, but you can use the Animator DLL File for Free.
Tools Required:
- Download Animator Control from this LINK for free. or Buy a licenced version from their official website.
- Visual Studio 2010 or later version recommended.
Steps to Follow:
- Open up the Visual Studio and create a new Windows Forms Application project.
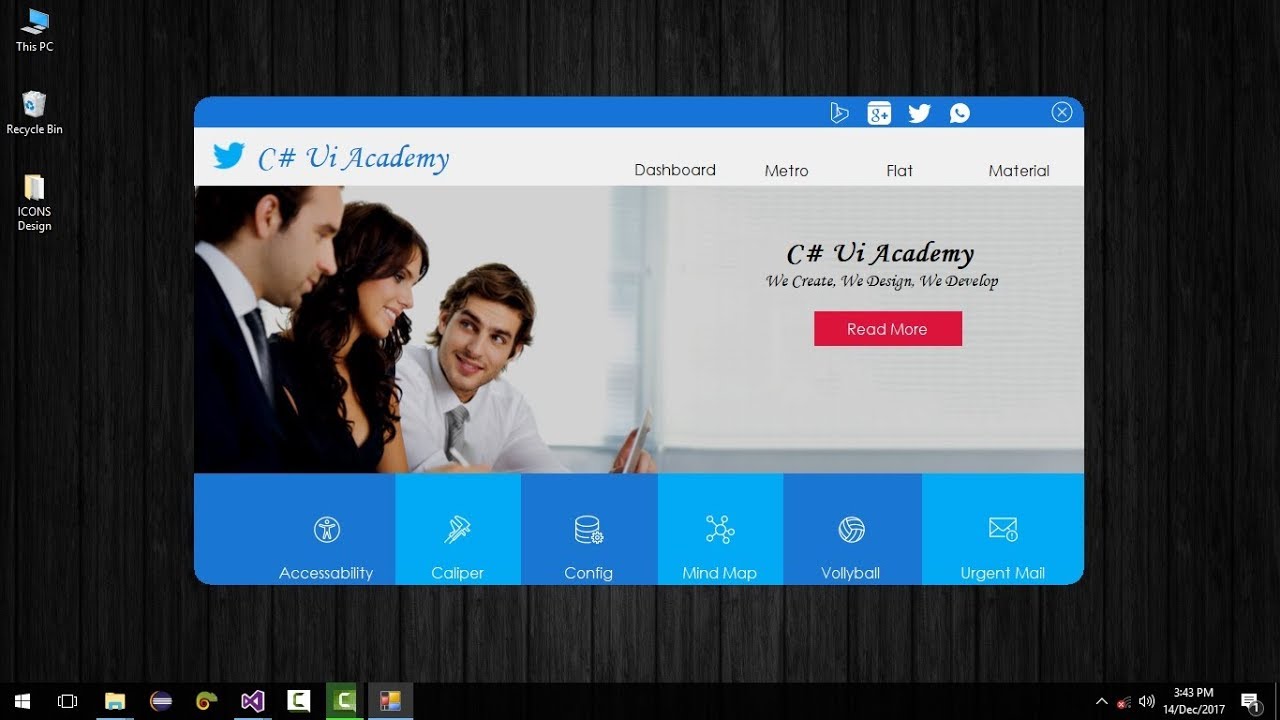
- Go to the design view of your form and resize it.
- Set the Form Border Style property to none, Auto Scale Mode property to none.
- Change the Font to Century Gothic 12.
- Add a panel control from toolbox and dock it to top.
- Now its time to pick some icons, I recommend you to use Pichon desktop application to choose icons of any color. You can download it from this Link.
- Add two more panel controls, dock one to the top and other one to the bottom.
- Add a picture box control into the middle panel and use your logo as an image for this picture box.
- Now Add a label control and set the text property to name of your organization.
- Drag some button controls for a navigation bar in to and bottom panel.
- Now create two user controls for your slider and add the transition code from below video tutorial.
Video Tutorial:
