


Looking for a modern designed Expense manager in c# for your personal or business use? This article is for you. In this tutorial, we’ll design a modern designed Expense Manager in C# using Bunifu Ui Framework.
Tools Required:
- Visual Studio 2012 or later version.
- Bunifu Ui Framework.
- Pichon App (Optional) for icons.
Bunifu Tools Used:
- Panel Control.
- Ellipse Control.
- Bar Chart.
- Chart Canvas.
- Picture box.
Steps to Design Expense Manager in C#:
Open Visual Studio and create a new Windows Forms Application in Visual C#.
Go to the solution explorer and right-click on the project file and click on Manage Nuget Packages.
Click on the browse tab and search for Bunifu and from the search result, install Bunifu.WinForms and Bunifu.Charts.WinForms. When the installation is completed, Open Form1 and go to the toolbox and search for Bunifu Ellipse Control and drag it into your form.
This will remove the default borders from the form and will add a round corner effect to the form. You can change the ellipse radius from the properties of Ellipse control.
Designing Top and Left Menu:
Now add a Bunifu Panel control from the toolbox and change the dock property to left and resize it according to your requirement. This panel will work as a container for the left-side menu.
Add another bunifu panel into the form and dock it to the top. This will work as the panel header of our main form.
Pick a label control from the toolbox and place it on the left top corner of the header panel and change the font size and style. This will be the main title of our application. Do the same for the slogan of the app.
Now drag a Bunifu Textbox control from the toolbox and set the placeholder text property to Search activity or another. This will work as a search box in our application.
Add a Bunifu Button and customize it for the notification button and place it on the right side of the search textbox. Add a left icon of the button.
You can use Pichon App for free icons of any color. Just search for any icon and drag it to a folder in the file explorer of Windows.
Now copy the button to the left side panel and resize it. Change the icons of the button according to your need and copy the buttons as many times as you want.
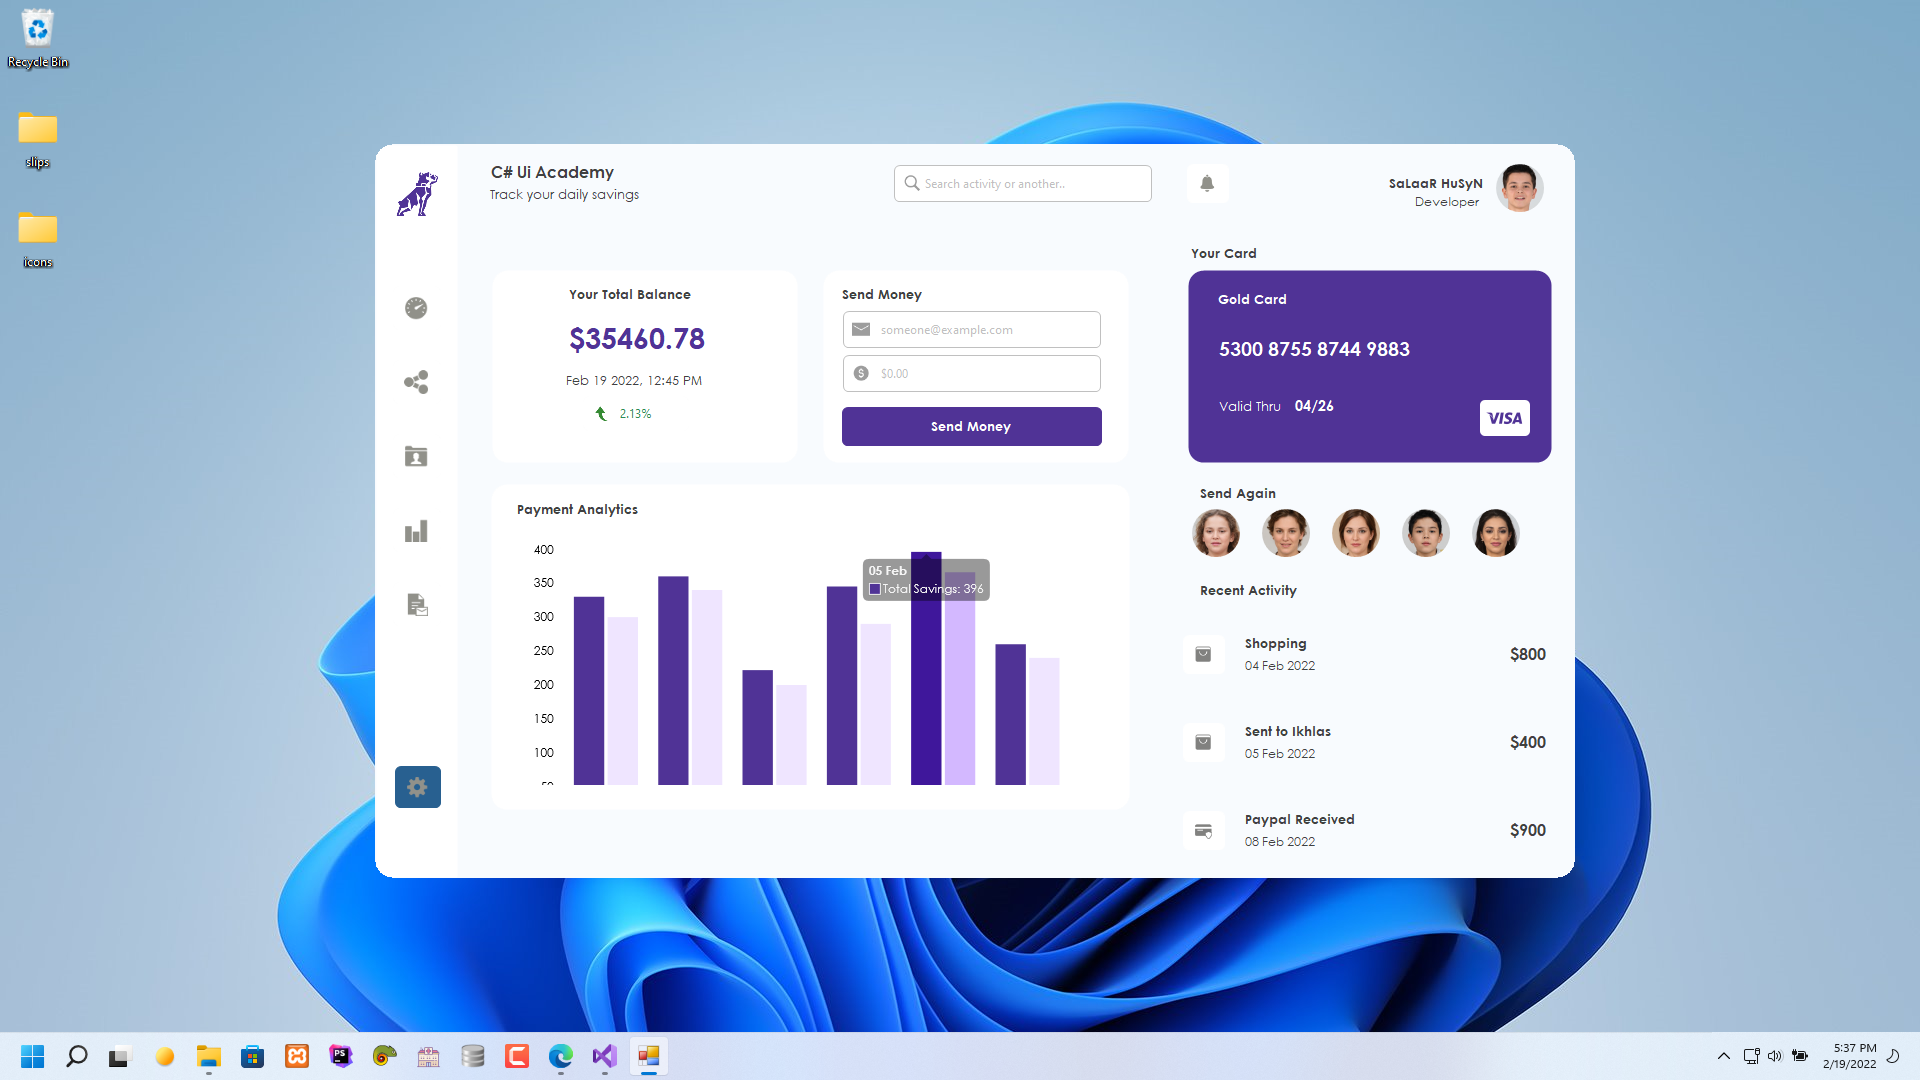
Designing Panel Body:
Drag another Bunifu Panel control from the toolbox and dock it to the parent container. Add another panel and resize it to 308×195 and set labels and change the properties according to your need.
Copy and paste the same panel and resize it to 639×326. Place this panel underneath the other panel and add a Bunifu Chart Canvas tool to it and customize the properties as per your requirement.
Now add a Bunifu Bar Chart to it and set some data values of it and add a background color for the bars in the chart. Duplicate the same chart and set the canvas of both charts to bunifuChartCanvas1.
Video Tutorial:
Watch a full video tutorial to learn how to design that interface in Visual Studio.
